PATIENCE
This is not a race. Drying your work properly gives you the best chance for a successful firing.
HUMIDITY CONTROL
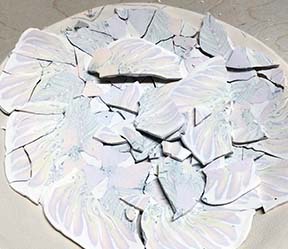
Ware shrinks when it dries. Cracks happen when the shrinkage occurs unevenly enough to stress the piece. It is not the speed of drying, but the unevenness of drying that often results in ware cracking.
Ware wants to dry unevenly
Exposed / Thinner/ Outer sections will dry first, and they will pull far ahead of other sections in the race-to-dry. You need to to keep keep drying as even as possible throughout the process.
The humidity control can be as simple as controlling how much outside dry air is allowed in and damp re-circulating air is allowed out. Placing your ware on batts, under cloth and plastic will slow, and even out, the drying process.
Short version is that your clay work has to be evenly wet before you can begin to dry. Keeping it evenly moist begins the first moment you begin to build the work and continues until it hits the kiln.Complex pieces have special drying needs ... a handle or a foot require protection from drying faster / slower than the rest. It could need extra wrapping or coating with wax resist to slow it down.
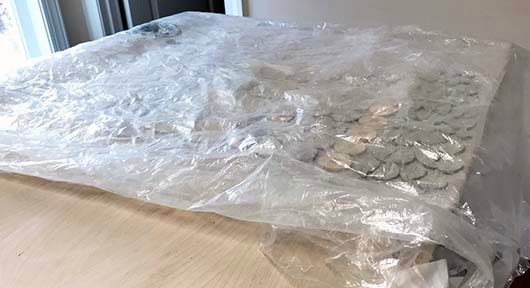
Build a holding area
This is a low cost to no cost solution to keep the pieces evenly dry while you work. Put down plastic, add a damp towel and cover with more plastic. All through your process this will be where you put your clay work to keep it evenly moist.
Moisture Control at every step
At no point should one section of your piece be ahead of the others as you build … your piece never fully recovers from this stress.
Always return pieces to the hold area no matter how short a time you think you will be away.
Double or triple cover for long waits or overnight.
It never hurts to spritz your work surface if the clay is drying too fast. Never spritz the clay … just the cloth it is resting on or under
CHECK HANDS often … if they are getting clay colored they are sucking moisture from your clay … wet them often.
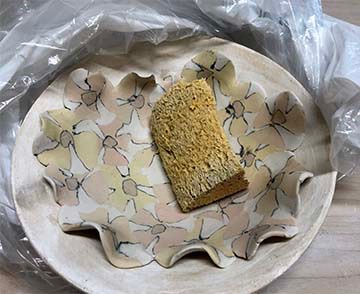
My current way of drying my Artwork is done by first giving the piece time to get totally evenly moist with no area of the form being dryer or wetter than any other.
The easiest way I have found to do this is:
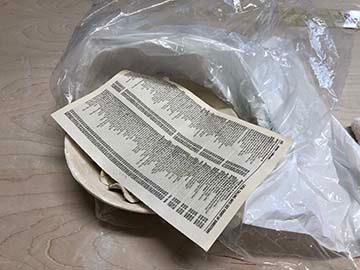
#1 Put a piece of paper on top of the piece to catch any condensation.
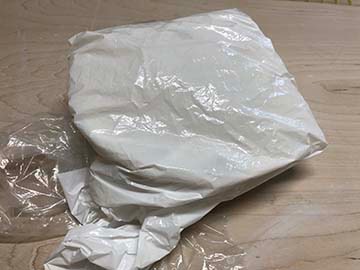
Cover snugly with plastic, leave for two days before opening it.
NO peeking!
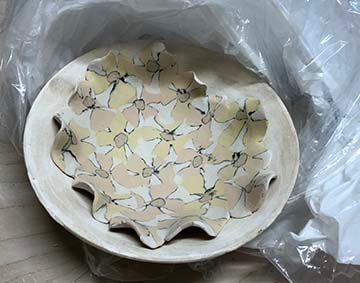
Open and check to make sure the piece is evenly moist.
At this point you can place it under loose plastic in a location away from direct sun and drafts.
CLEAN BEFORE BISQUE FIRING
There are often specks of colors and smears on the surface that can be easily cleaned at this point.
Since I use porcelain this part has to be done gently and yes,
SLOWLY.
I use warm water and a damp cellulose sponge to gently wipe away any obvious smears, specks and smudges. I buy a big one and cut it down to sizes that reach into corners of the vessels.
Do only one side at a time then leave it to dry before cleaning the other surface.
Doing inside and outside at the same time can result in the pot collapsing.
If you start getting antsy or bored, stop immediately as rushing leads to ruin!
NOTE *
If you are not comfortable cleaning at this stage you can wet sand the pieces after you bisque them.
I bisque my work to Cone 08. This makes it easier to wet sand any small specks but the piece is still quite fragile. It also absorbs more glaze so I wipe each piece with a wet sponge right before I glaze.