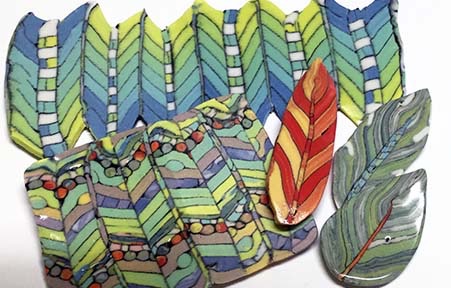
Herringbone patterns are versatile patterns you can quickly create with a little patience.
Follow these simple steps.
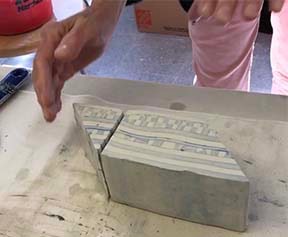
Place any striped or patterned loaf on the table with the side you want to see the pattern on FACING UP. This works best on a longer loaf.
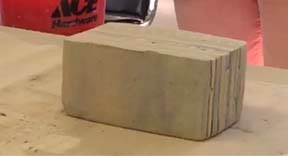
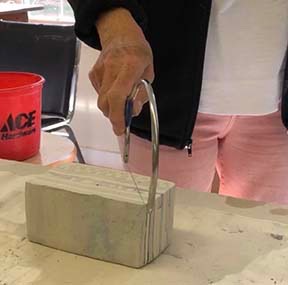
Then you slice off the end at an angle of your choice.
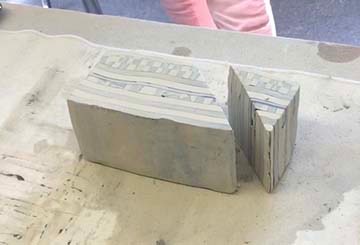
Then lift this piece and move it across the top of the loaf to the opposite flat end of the loaf - without turning it - just tap it into place on the end with the colors matching. You might need a light spritz of water to attach it.
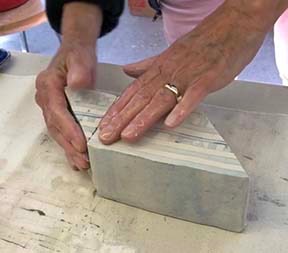
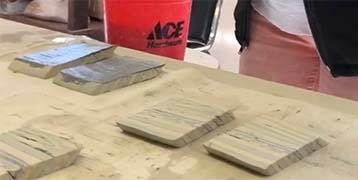
Place that freshly cut side down on the table and cut slices between your two measured rulers.
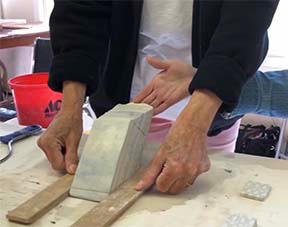
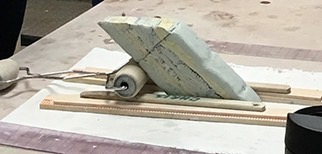
Find a way to hold the loaf up at the angle you want while cutting it.
I often end up using my chin or a roller to hold it in place.
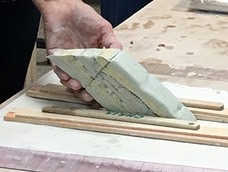
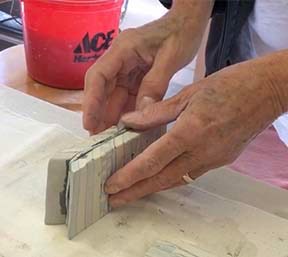
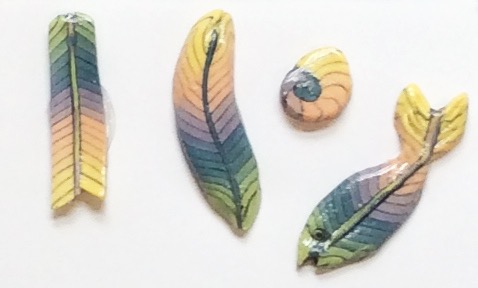
Flip alternate slices to make your pattern.
You can put slip between the slices to join them or thin slices of clay for a different design.

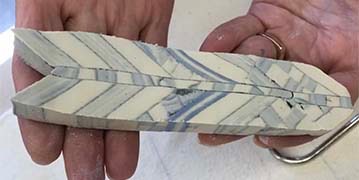
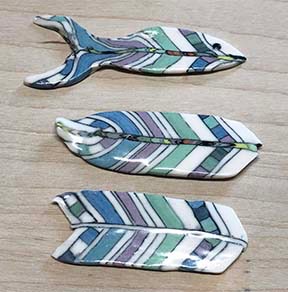
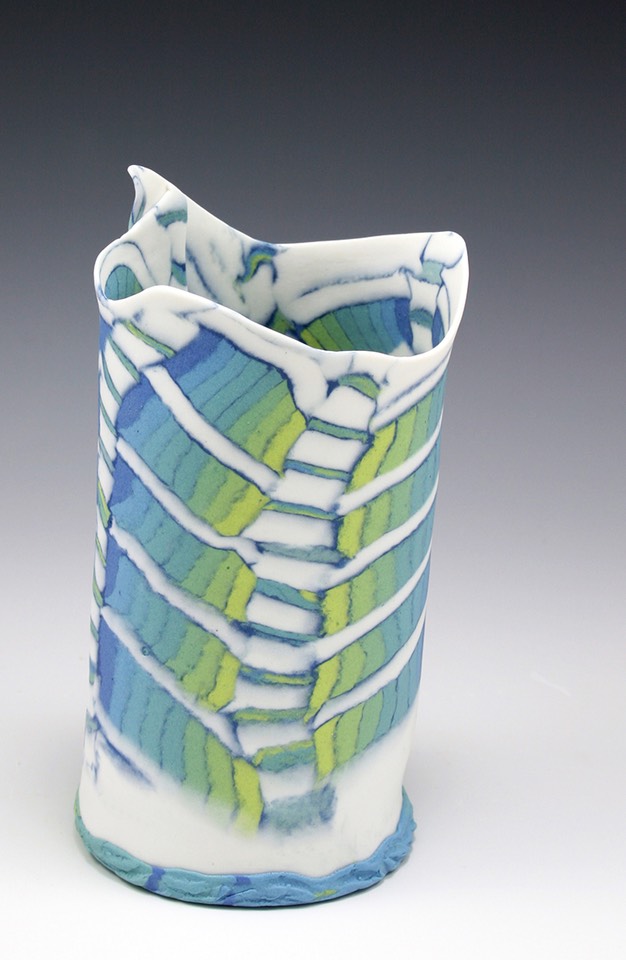
It is a very versatile pattern as you can see
PROBLEMS? Check out the Troubleshooting area
Thanks to Judy Goodstein for all the images!