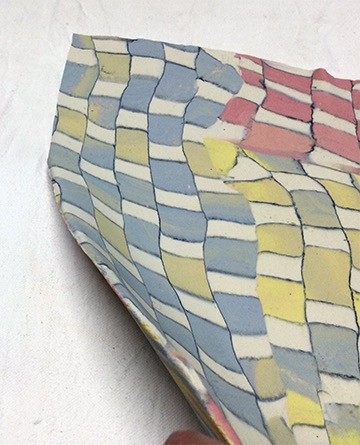
Lamination is the process of sandwiching a thin layer of white clay between very thin layers of colored patterned clay. Doing this makes your colored patterns last longer, but more importantly makes the piece water tight.
The #1 thing to always keep in mind is maintaining a constant level of HUMIDITY in the whole piece so it dries evenly, without cracks.
I cannot say this often enough.
Every part of your work has to stay at the same humidity level
Letting your pieces get out of sync with each other will result in cracking.
BEFORE YOU BEGIN ...
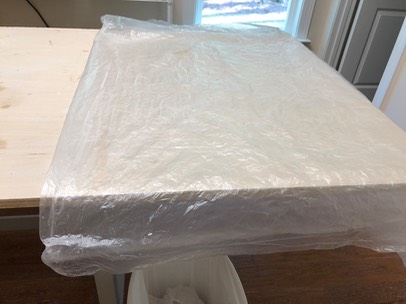
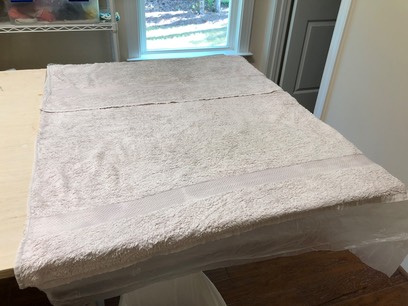
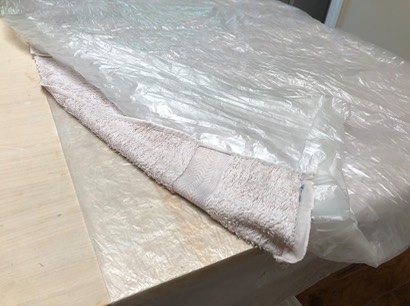
Build a holding area for your work in progress.
I put down a piece of plastic, lie a damp towel on it and cover with another piece of plastic. Low tech … inexpensive … and it works to keep the humidity even on anything stored there. Whenever you are not actively working on your clay it should be resting there. It should become second nature to put the work there whenever you pause.
WHAT CLAY TO USE?
I highly recommend using the same clay that you made the colored patterns with. This way the clay will shrink and fire the same way.
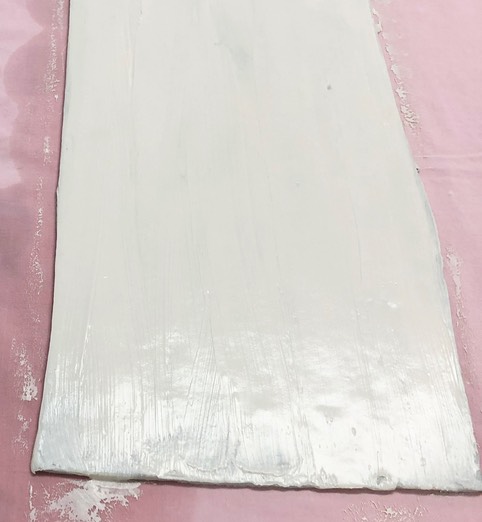
You can laminate your colored clay onto one side of the plain clay or both sides. You can cover the whole surface or parts of it. Prepare your white clay by rolling it out to a bit less height than you want in the end. This white sheet can be as thin or thick as you want. If you have watched your humidity it will bond with your colored clay.
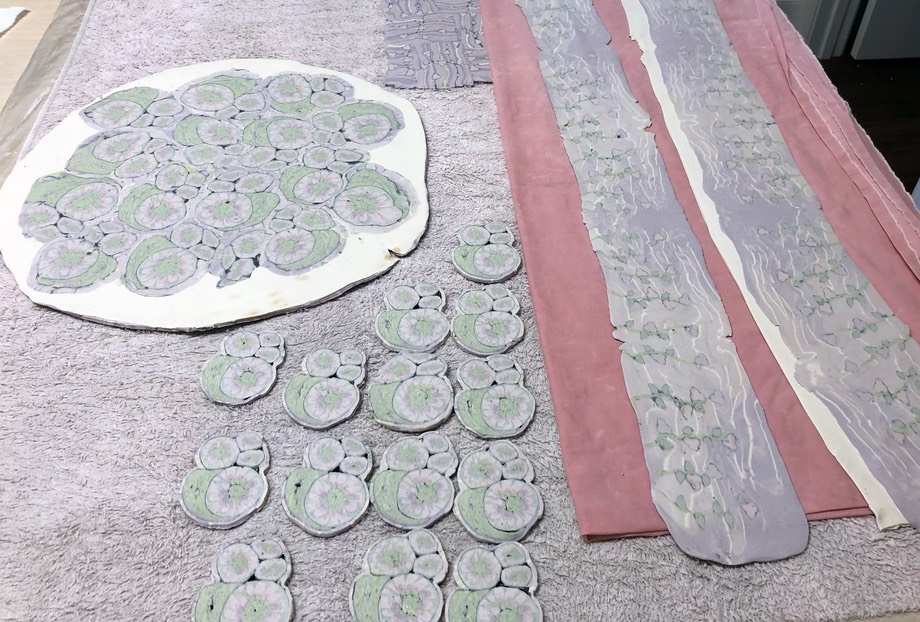
#1 - Joining by hand
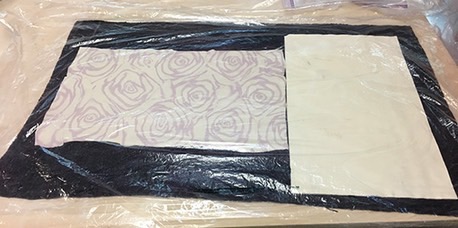
The sheets above are resting after being rolled out to size. The colored sheet is made from pieces of canes and the other is a simple slab of matching white clay. They are resting because clay that has been rolled out tends to shrink back a bit after you are done. You will avoid cracks if you let them shrink back before using them.
Let them rest on a damp towel under plastic for at least 15-20 minutes.
This gives them both time to shrink back a bit at their own pace and to match humidity level. You will have to learn to judge how long to leave them by touch and experience.
If one sheet is much dryer or wetter then wait until they are both the same. They do not have to be the same thickness, but wait until they match in humidity.
When you are ready, give the solid sheet a very light spritz of water and gently run your hand over the surface to raise a bit of slip. Gently place one sheet on the over making sure you don’t trap any air bubbles. Use a sharp point to burst any bubbles that might occur.
After this I generally set the joined pieces aside for a few minutes … once again under plastic on a damp towel.
You might think this is 'over kill' on the babying and waiting, but it is not. You have put in so much work on this piece to get it to this point that waiting a bit for the clay to rest and equalize is totally worth it
.
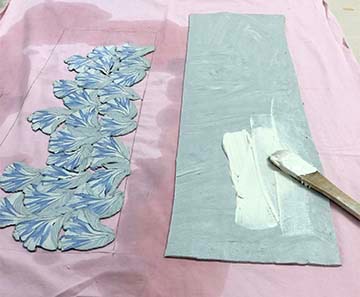
In this image you can see a thin sheet of color on a thicker sheet of white on the left.
On the far right you see a strip of clay where I have rolled on the color and right beside it a matching sheet of color waiting to be rolled on to the opposite side of it.
In the middle are the sprigs of patterned clay.
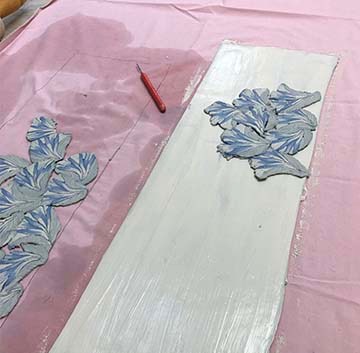
This image shows the moment before I start to gently roll the colored strip on to the white side of the clay strip.
It already has the same pattern on the other side.
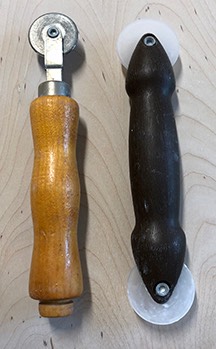
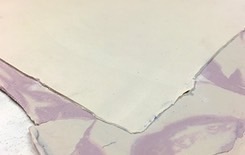
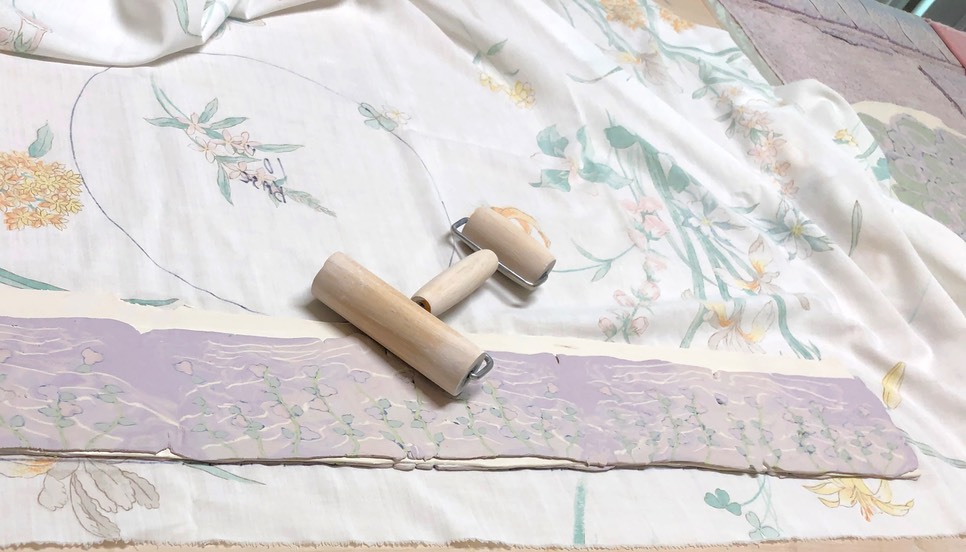
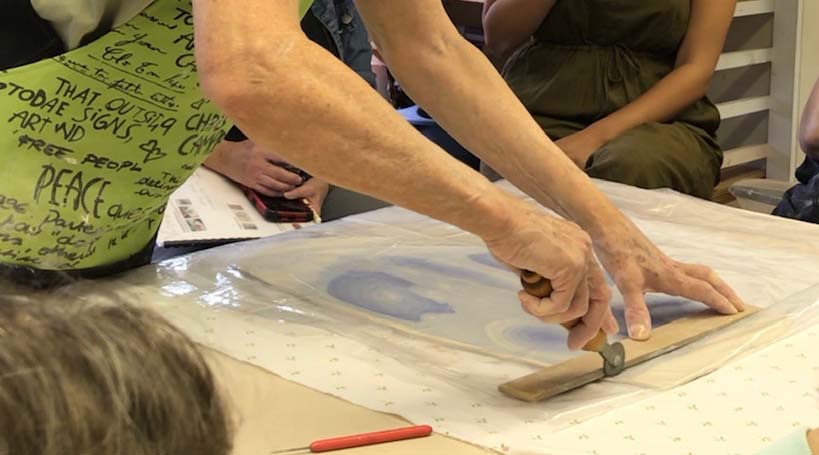
This tool is called a spliner and can be purchased in hardware stores. It is used in screen repair to wrap the screen.
As you cut with it, it wraps the clay, hiding the white layer in the middle.
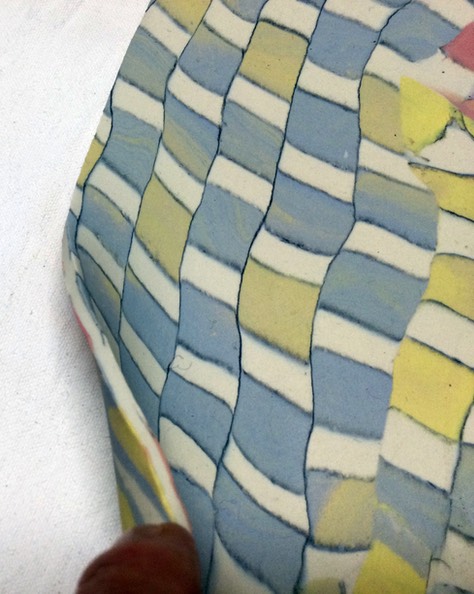
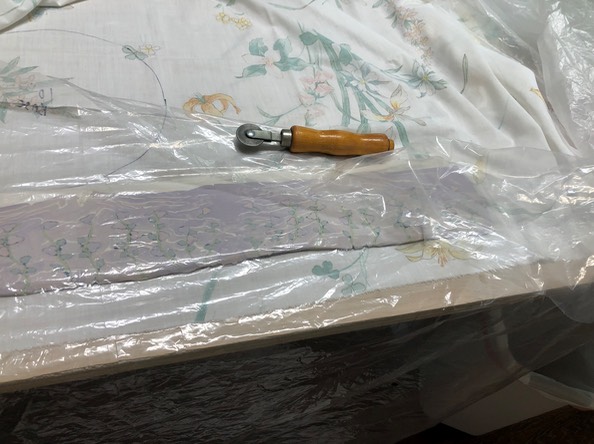
These two images clearly show the before/after effect of the spliner.
Cover your work with plastic then cut to size with the splinter.
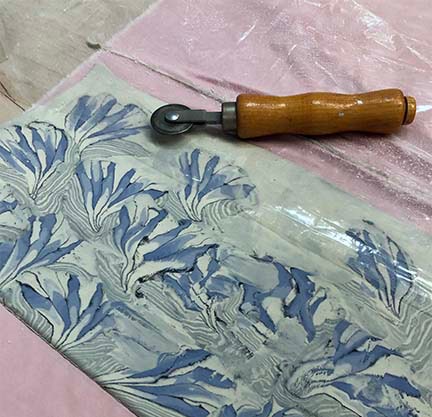
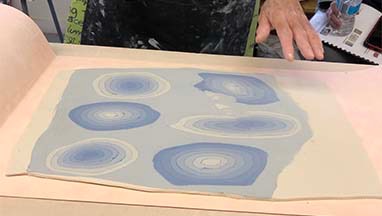
CREATING YOUR IMAGES WITH SPRIGS OF CANES
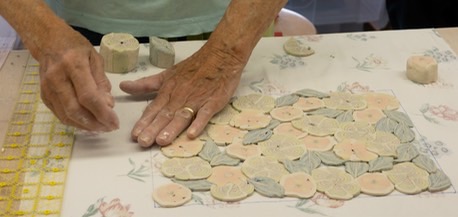
This process uses sprigs from several canes to create a design then laminating it to a piece of white clay.
I slice the canes then carefully pat them down on the plain clay to create my design.
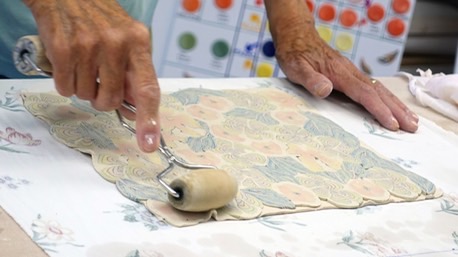
Then I gently roll them together
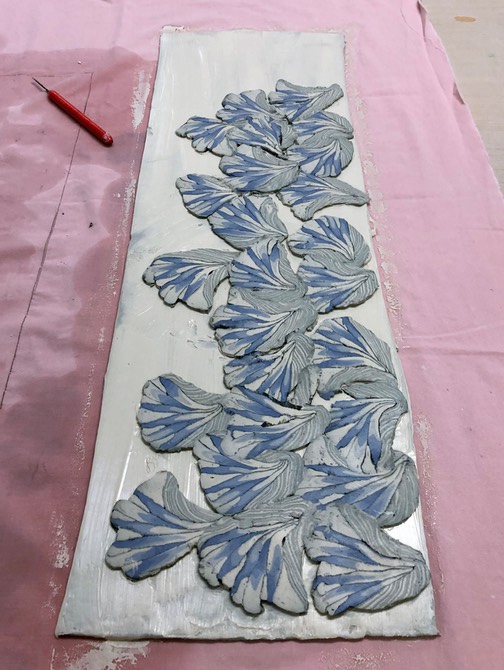
You can also stretch the pattern by rolling it thinner … but then let it rest for 15-20 minutes before making a piece.

You can trim this clay slab with your spliner then gently press or shape it into your desired piece.
NEXT CRUCIAL STEP
Cover the finished pieces snugly with plastic and let them rest for at least one day without opening it. NO PEEKING! This lets the whole piece even out in humidity and helps prevent cracking. After a day or two you can open it and cover it loosely with plastic. Let it dry away from sun and drafts.
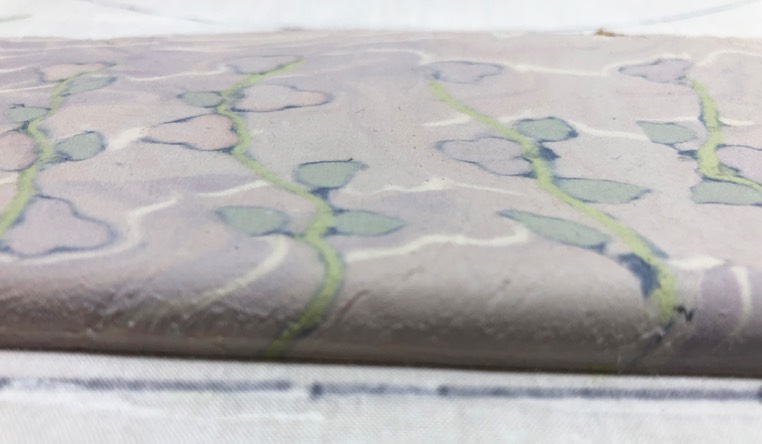
You can also Laminatinguse sprigs without covering the whole sheet of clay.
I covered the front side of this blue clay with white slip.
Then, I began to transfer the pattern to the slipped side.
I patted them in place with care.
When I was happy with the design I lightly rolled them to attach.
You could of course stretch them and move them any way you want for a wilder, looser effect.
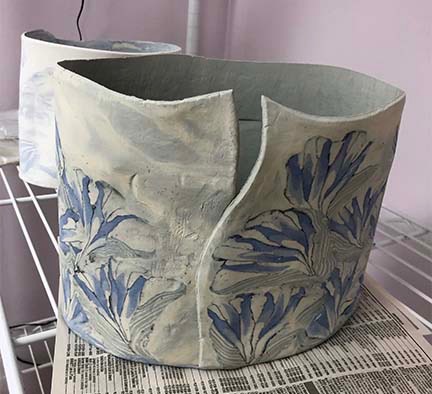
Here is the unfired vase made from this pattern.
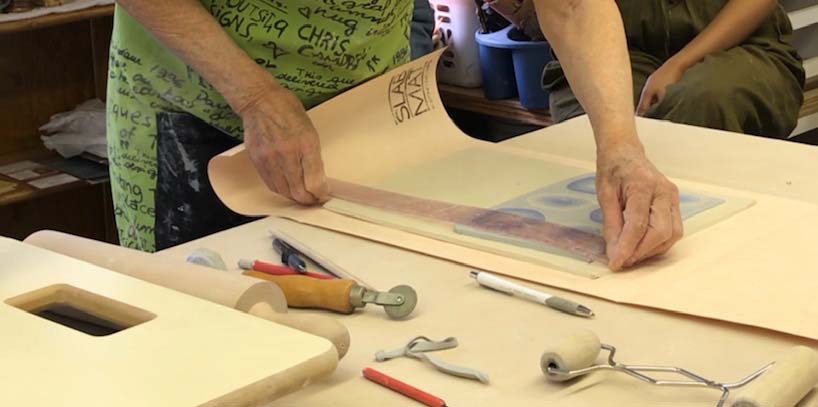
SLAB ROLLER METHOD
This method was developed by Dean McRaine of Lightwave Pottery in Hawaii.
This is my take on his method, any errors are mine!
The basic idea is to get a large sheet of colored clay that looks a though it is only one piece of colored clay. This technique works best with a large, double roller, slab roller.
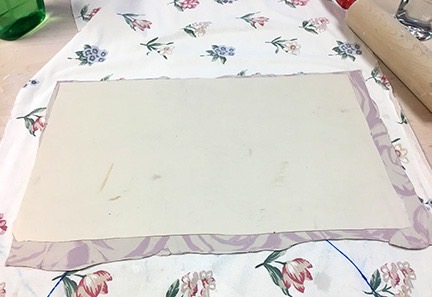
Start by preparing your plain piece of clay to the size you desire. Measure and mark both sides so you can easily place both colored sheets in matching spots.
Measure your colored sheets to be slightly narrower and shorter than the plain clay.
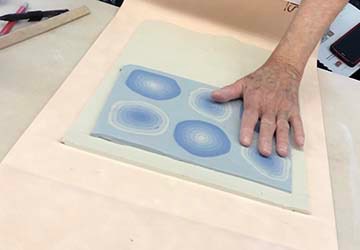
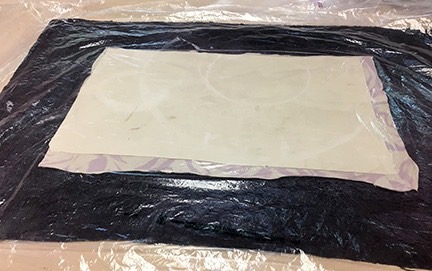
Place colored sheet about an inch from the top and leave a half inch on each side. A quick spritz of water or a thin coat of slip will hold it in place.
Flip the piece and place a matching colored sheet in the same place … the colored sheets are now matched up, back to back.

The trick is to pass them through the slab roller several times. With each pass, very slowly decrease the width … the slower you can do this, the less distortion your piece will have.
Some slab rollers are better than others at slowly reducing the opening for the clay. If you feel it grabbing you should stop right away or the whole slab will be distorted … which is not always bad news but is annoying if you didn’t want it to happen
Now you can cover it with plastic, cut it to size with the spliner and use after resting.
THANKS to Dean McRaine for generously sharing this process, to Sue Weber & Barbara Zerbe for teaching me and to Erika Sanger and Judith Guberman for sharing their photos of my interpretation of his process.