
Why laminate sheets of colored clay patterns onto plain sheets of clay?
- the colored clay patterns will go further, last longer.
- the work you make dries faster than canes only
- you only want the color on one side.
- you want to make a vessel water tight, food safe by lining it with solid clay.
I am going to show you several ways of laminating… both by hand and using a slab roller.
#1 - Joining by hand
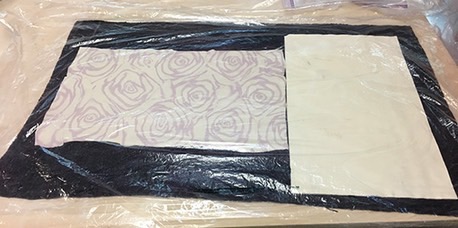
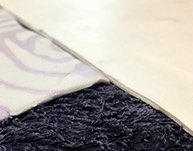
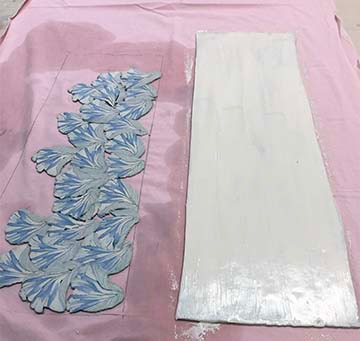
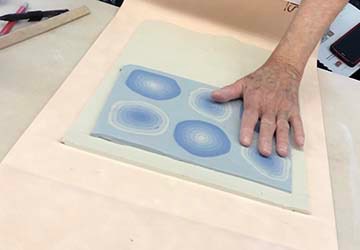
The sheets above are resting after being rolled out to size. The colored sheet is made from pieces of canes and the other is a simple slab of matching white clay.
I have put a piece of plastic under and over a damp towel. I prefer using towels for this as they hold and release moisture very evenly.
Now think about what it means to join them. You are asking a perfectly white sheet of clay to shrink at the same rate as that patterned piece that has color, slips and thousands of joining points. Not going to happen without a bit of help.
Let them rest on a damp towel under plastic for at least an hour or two. It is that simple. This gives them both time to shrink back a bit at their own pace and to reach a matching humidity level. You will have to learn to judge how long to leave them by touch and experience.
If one sheet is much dryer or wetter then wait until they are both the same. They do not have to be the same thickness, but waiting until they match in humidity will pay off in the long run.
When you think they are ready, gently place one piece on the other without stretching either piece … you might need a very light spritz of water but not too much. Gently roll over the piece to make sure you don’t have any air bubbles. Use a sharp point to burst any bubbles that might occur.
After this I generally set the joined pieces aside for a few minutes … once again under plastic on a damp towel.
You might think this is 'over kill' on the babying and waiting, but it is not. You have put in so much work on this piece to get it to this point that waiting a bit for the clay to rest is going to pay off in happy results.
Here is another group of laminating process shots sent to me by Erika Sanger, a student in one of my workshops.
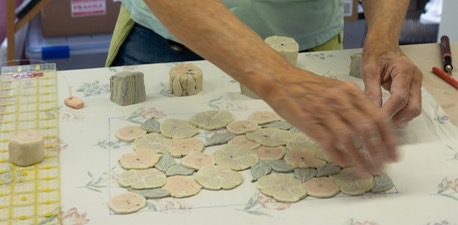
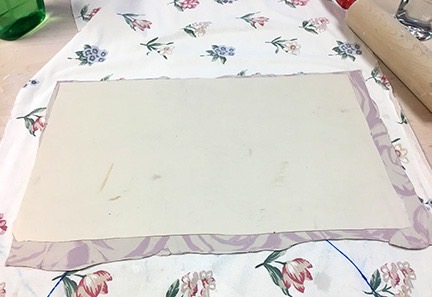
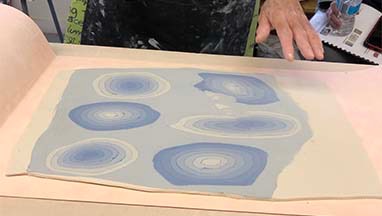
I am slicing the canes, creating a pattern and carefully patting them down. Then I gently roll them together making sure to only press DOWN, not stretching the pattern.
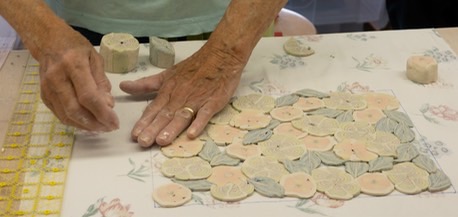
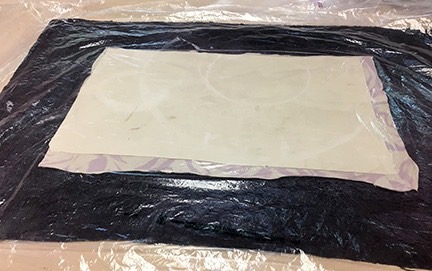
I let this piece rest on a damp towel beside the matching piece of plain white clay for at least one hour … time to let them shrink back a bit and match up in moisture levels. Then carefully place one on the other.
ROLL DOWN … do not stretch if you want the accurate pattern. If you want something a bit wilder, let the two joined pieces rest a bit, then you can roll them to make whatever kind of design you want.

Shape and gently press into whatever form you are using. Remember, if you use a hump mold you have to be very careful to get it off before it cracks in drying. For a slump mold you need to test its mobility to make sure it is not sticking to the sides. It will crack wherever it sticks.
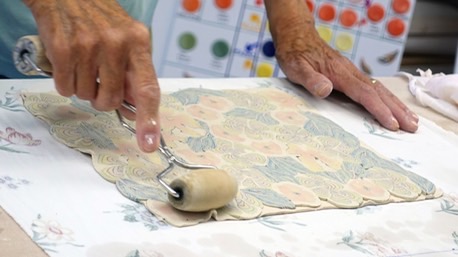
Another version of this method is used here to attach sliced cane pieces to a colored clay slab.
I wanted the front side to have a whitish background so I covered it with Southern Ice slip which is a very bright white.
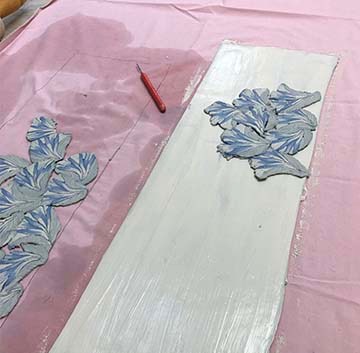
Without waiting too long I began to transfer the pattern to the slipped side.
It is patted in place with care to press down, rather than stretching them on.
You could of course stretch them and move them any way you want for a wilder, looser effect.
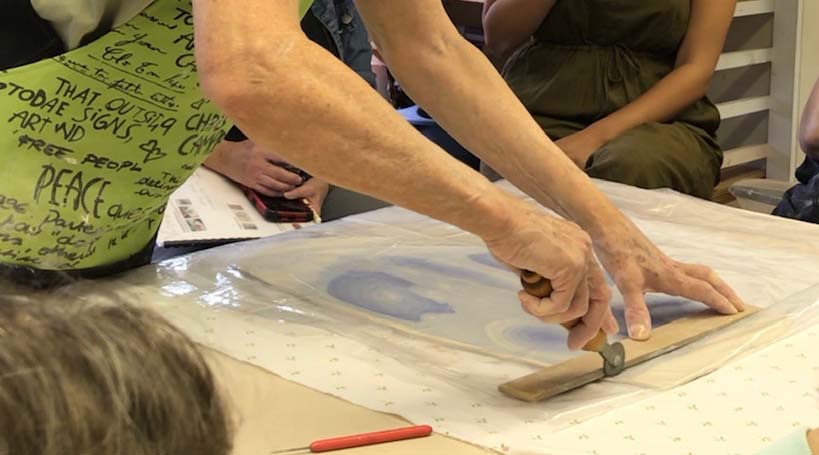
I used a rolling pin to anchor them in place, then moved them through a double roller, slab roller to thin them and to firmly lock them together. I rolled the slab about five times, decreasing the width a tiny bit each time. You can also roll them by hand, of course. Again, give it a few moment to rest and shrink back a bit.
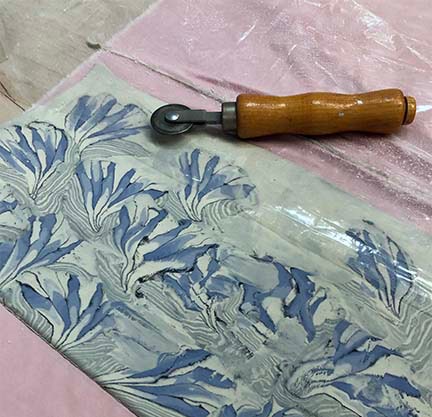
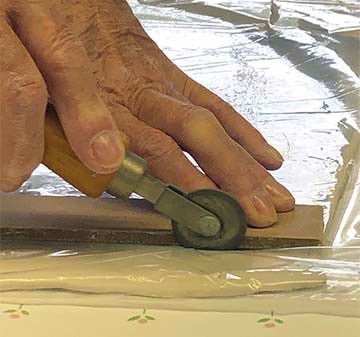
I then cover the finished piece with heavy plastic and cut to size using an inexpensive spliner from a hardware store. This tool folds and seals the cut so the layers meld and the middle does not show.
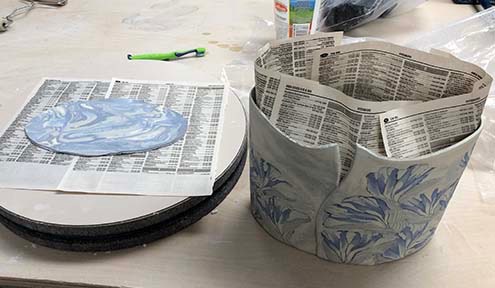
Here it is wrapped around the form and waiting to be placed on the pre-cut bottom. The piece of clay used to make the bottom is matched in humidity and resting time with the walls of the vase.
If you do not lethal pieces relax, the vase will crack under the stress of drying and shrinking unevenly.
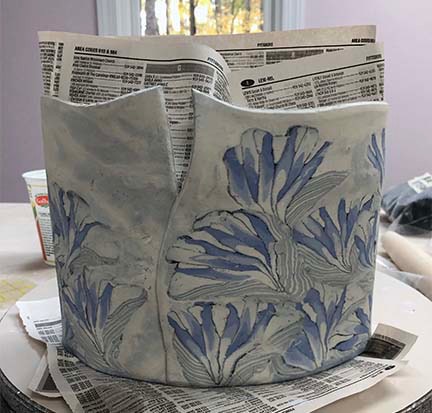
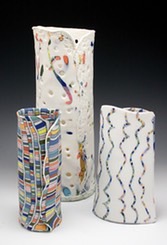
Here is the vase with the base attached but the paper and form still in place.
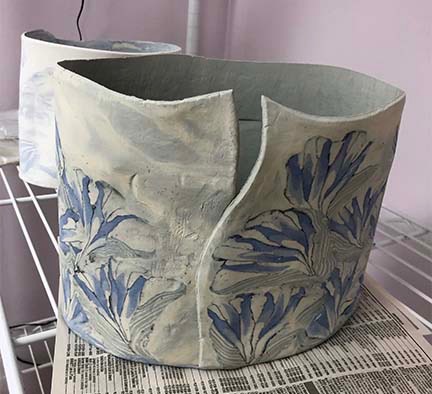
The vase is complete and only needs some smoothing once it gets a little sturdier. Right now this form is very wet … almost like clay straight out of the bag.
I will dry this under plastic for a day or two, then air dry out of the way of any drafts. When it is sturdy enough to be handled I will smooth out the marks on the surface.
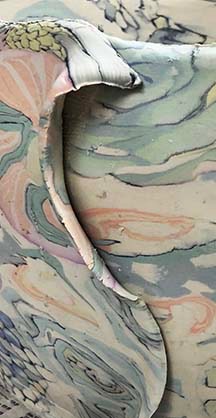
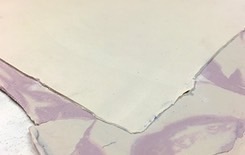
This image show the edge you get when you use a spliner to cur the edges of laminated forms.
METHOD #2 - SLAB ROLLER
This method was invented & developed by Dean McRaine of Lightwave Pottery in Hawaii.
This is my take on his method, any errors are mine!
Another way to laminate one or both sides of a plain sheet of clay is to use a double roller, slab roller.
Start by preparing your plain piece of clay to the size you desire.
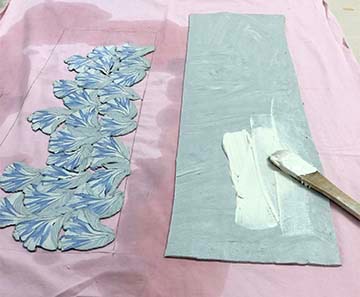
Measure your colored sheets to be slightly narrower and much longer. In this demo I am using a piece of SlabMat to prevent any texture on the finished work.
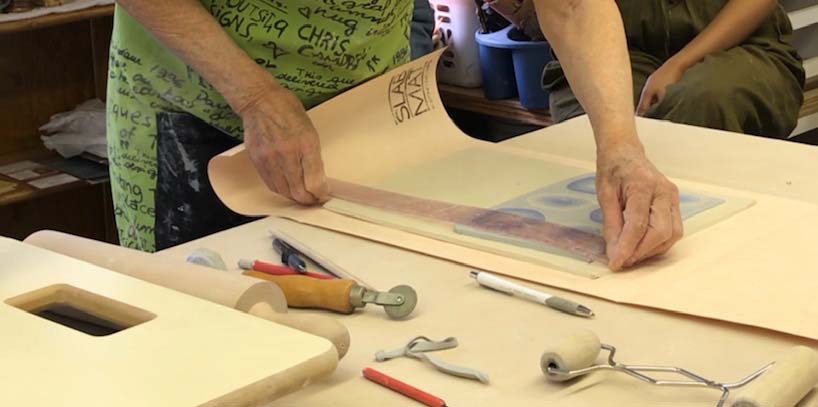
Place colored sheet about an inch from the top and left a couple inches on each side. A quick spritz of water or a thin coat of slip will hold it in place.

I flipped the piece and placed another colored sheet in the matching place … the colored sheets are now matched up, back to back.
The trick is to pass them through the slab roller several times, very slowly decreasing the opening … the slower you can do this, the less distortion your piece will have. Some slab rollers are better than others at slowly reducing the opening for the clay. If you feel it grabbing you should stop right away or the whole slab will be distorted … which is not always bad news but is annoying if you didn’t want it to happen.
You might wonder if people can still see the white clay in between.
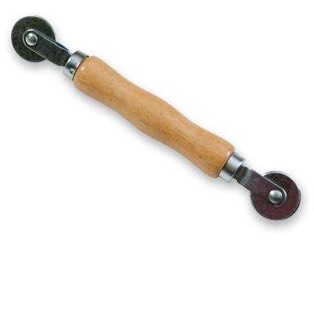
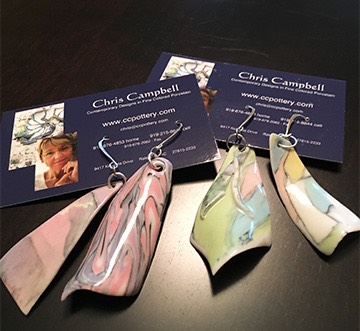
Dean McRaine of Lightwave Pottery in Hawaii came up with an elegant, simple solution. Cover the finished piece with heavy plastic then cut to size using an inexpensive spliner from a hardware store.
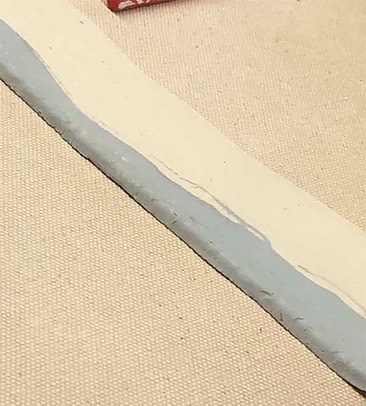
Here is the edge when cut this way. You can see that the colors get pulled over to hide the join.
IF YOU WANT TO LEARN EVERYTHING ABOUT COLORED CLAY, TAKE MY FABULOUS ONLINE WORKSHOP
THANKS to Dean McRaine for generously sharing this process, to Sue Weber & Barbara Zerbe for teaching me and to Erika Sanger and Judith Guberman for sharing their photos of my interpretation of his process.
PROBLEMS? Check out the Troubleshooting area
