STRIPES
When you are creating a striped cane, ignore any ideas of limitations. Make a stripe however you want.
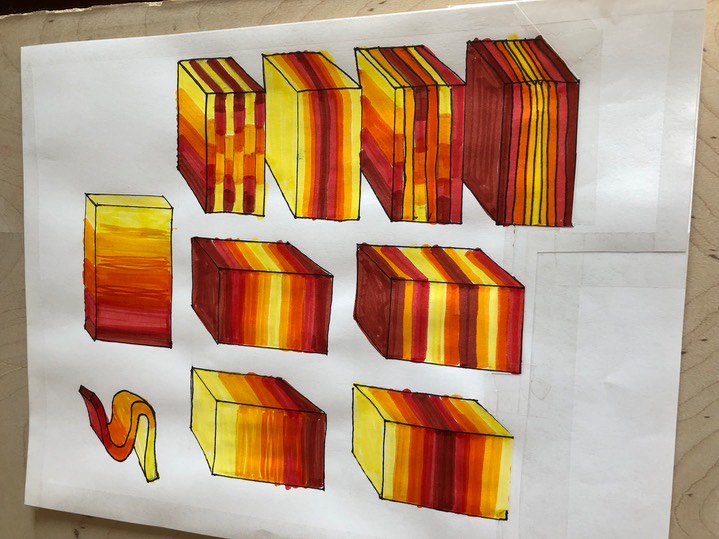
The very simplest idea is to stack your colors with a bit of slip between them.
These stripes are made with the same colors, difference is mixing up colors and adding white.
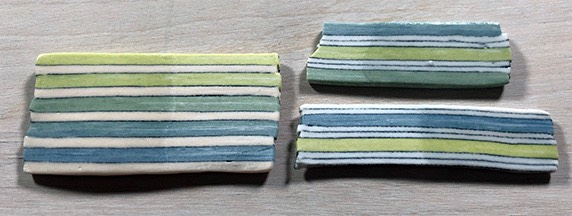
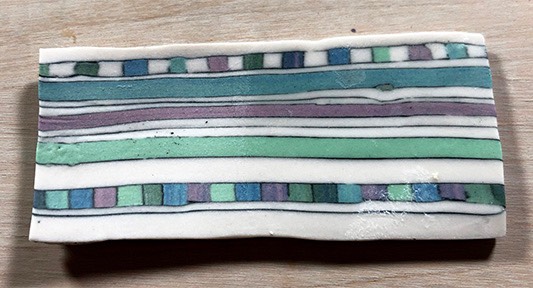
Patterns added to stripes below

Below uses the whole skinner blend, alternating sides.
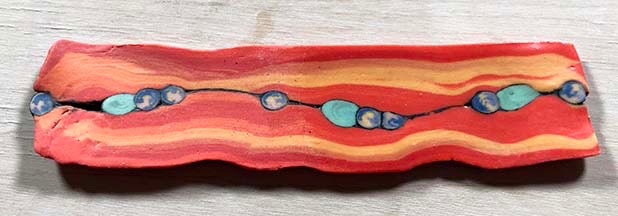
Add some extruded coils to a stripe and see what an interesting pattern you create.
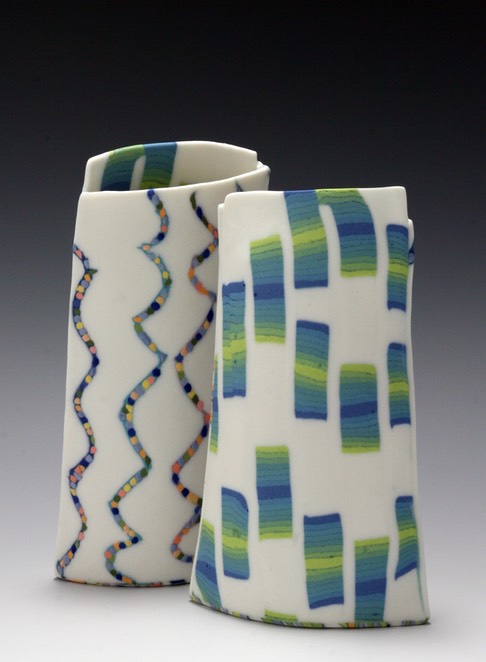
Two sets of stripes but who would look at these vessels and have their first thought be - striped pots!
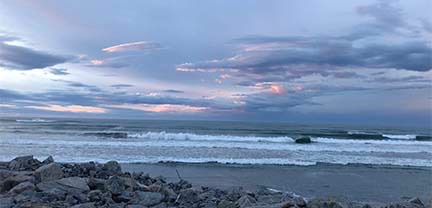

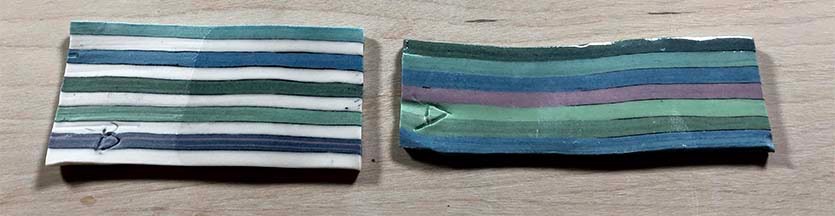
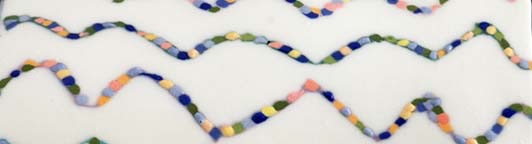
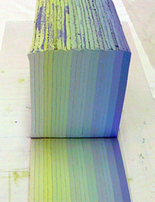
This ocean image inspired these stripes.
If you want to mix up the colors or thicknesses, do it before you start stacking them.
This way you are sure of the color shifts you are creating.
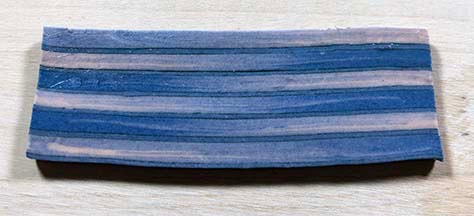
Layers do not have to be precise. They can also be stacked free form for a loose wavy pattern. Once again, slip use is optional and depends on what look you are going for.
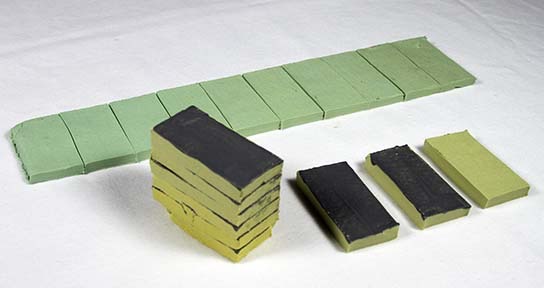
If you want to cut them into exact thicknesses for distinct stripes you need to let them set up a bit so they can hold their shape.
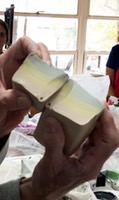
NOTE*** When storing your striped patterns you should place them on end as shown above. If you stored these stripes horizontally the bottom layer would soon be squashed into a flat line by the weight of the clay pressing down on it.
If you want soft, subtle stripes simply roll your piece of clay thin and fold it like a towel.
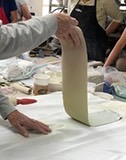


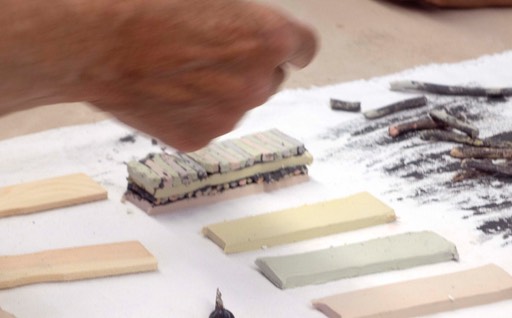
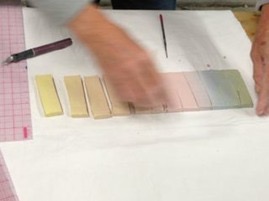
I cut the patterned loaves by placing the loaf on a level surface between a pair of rulers. I pull the cutting wire towards me while resting it on the rulers to control the thickness of the slice.
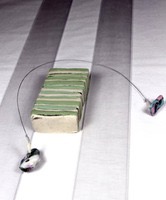
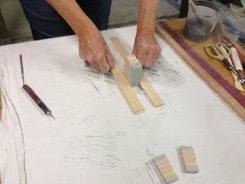
If you keep a selection of rulers on hand you can quickly slice any thickness. You can also mix the thicknesses to have an angled slice.